Brilliant Invention Gen 20 Hydrogen Generator July 2 2026
Brilliant Invention Gen 20 Hydrogen Generator ---(update Feb 7... Full Story



by Gavan Knox MSc, BSc, BEd, Inventor
WhatsApp call +61 403177183
contact gavan@hfuel.com.au
https://hydrogenfuelsystems.com.au
Onboard Hydrogen Installation Checklist for Vehicles – Oct 26. A clean installation is where fuel-saving potential starts or stops. An on-board hydrogen installation checklist keeps the job focused on the details that matter: secure mounting, protected wiring, sealed gas routing and a system that works with the vehicle rather than creating avoidable faults. Whether you are fitting a diesel ute, work truck, 4WD, generator or marine engine, do not treat the installation as an accessory job.
An HHO system is fitted to support more complete combustion through on-board hydrogen generation. The result you are targeting is practical: lower operating costs, cleaner combustion characteristics and a more responsive engine under load. Those outcomes depend on choosing the right system size and installing every component correctly.

Before opening the kit, establish exactly what you are fitting it to. Record the engine type, capacity, fuel type, electrical system voltage, intake layout, available mounting areas and normal duty cycle. A city-driven petrol car, a loaded diesel work truck and a stationary generator may all use on-board hydrogen, but they do not place the same demands on mounting, wiring or output selection.
Check the engine bay with the bonnet shut and open. Look for heat sources, moving belts, steering components, sharp metal edges, factory wiring looms and service items that need regular access. The best location is not merely the first open space you find. It must keep the generator upright, accessible for inspection and protected from excessive heat, vibration and road spray.
For high-use vehicles, assess the commercial case as well. Record current fuel use, kilometres travelled, typical loads and service intervals before installation. This gives fleet operators and owner-drivers a proper baseline to compare results after the system has bedded in. Claims without a baseline are opinions. Operating data gives you something useful to measure.

System sizing matters. A generator that is suited to a light passenger vehicle is not automatically the correct choice for a heavy 4WD, truck or marine engine. Confirm that the selected Gen 10, Gen 15, Gen 20 or Gen 25 configuration matches the engine and intended operating conditions before fitting anything.
Lay out all supplied components and compare them against the applicable installation documentation. Check the generator, reservoir, plumbing, filter or bubbler components, electrical supply hardware, fuses, relays, connectors, mounting brackets and fasteners. Do not improvise with unknown fittings or substitute undersized electrical hardware because it is sitting in the shed.
Where a vehicle has advanced engine management, stop-start functions, auxiliary batteries, aftermarket accessories or a complex intake system, plan the fitment before drilling or cutting. Some applications call for additional technical assessment. Taking the time here prevents a rushed install that is difficult to diagnose later.

A reliable installation is tidy because tidy work is easier to inspect, protect and service. Mount each component on a sound structure, not a thin unsupported panel or a location exposed to direct exhaust heat. Use suitable brackets and fasteners, and make sure vibration cannot loosen mounts over time.
Use this check before progressing to electrical connections:
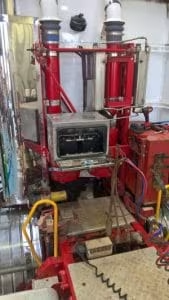
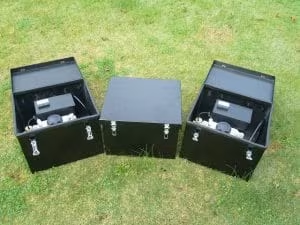

Do not assume a hose is safe simply because it is not touching a hot component while the vehicle is parked. Account for engine movement under torque, rough-road vibration and the effect of a loaded engine bay after a long run. Protect any line that passes through a panel with the correct grommet or edge protection.
The intake connection deserves particular attention. It must be airtight, mechanically secure and positioned as specified for the application. A poor connection can introduce an air leak, create inconsistent results and turn a straightforward installation into a fault-finding exercise.

Electrical protection is non-negotiable. An HHO system must be powered, fused and switched according to the installation instructions and the vehicle’s electrical architecture. The aim is simple: the system operates when intended, shuts down when intended and cannot damage the vehicle wiring if a fault occurs.
Use correctly rated cable, a suitable fuse installed close to the power source, protected terminals and properly secured wiring. Route cables away from exhaust heat, sharp edges, steering shafts and moving components. Support the loom at regular intervals rather than leaving it to hang or rub against metal.
Confirm the earth connection is clean, secure and made to an appropriate point. Poor earthing causes voltage drop, unreliable operation and misleading diagnosis. If the vehicle uses dual batteries, smart charging, a DC-DC charger or non-standard accessory wiring, have a qualified automotive electrician assess the connection strategy. Modern vehicles can be less forgiving than older workhorses.
Before energising the system, inspect every connection. Check polarity, terminal tightness, fuse rating and relay orientation where applicable. Never bypass a fuse, bridge a relay or connect directly to a circuit that cannot safely carry the load.
Use only the fluid and preparation method specified for the system. Water quality and electrolyte handling can affect operation, component life and maintenance requirements. Keep contaminants out of the reservoir and clean up any spills immediately, following the safety guidance supplied with the kit.
Initial testing should be controlled, not rushed. With the engine off, inspect the entire installation for loose fittings, unsecured wiring and signs of leakage. Start the engine and verify that the system activates and deactivates as designed. Watch for abnormal heat, unusual noises, warning lights or interference with existing vehicle functions.
Then recheck the installation after a short drive and again after the first period of normal use. Hoses can settle, clamps can need reinspection and wiring may reveal a rub point only after engine movement and vibration. This is standard mechanical discipline, not overkill.
Keep a record of the installation date, system model, vehicle kilometres, fluid checks and any maintenance performed. For commercial vehicles, include fuel purchases and operating hours. The more accurately you monitor use, the easier it is to judge the system’s value in your actual operating conditions.
Any modification must remain safe, roadworthy and appropriate for the vehicle’s use. Australian requirements can vary by state, insurer, vehicle category and modification type. Check what applies to your vehicle before installation, particularly for fleet, heavy vehicle, marine and commercial applications.
Do not place components where they compromise airbags, crash structures, brake lines, emissions equipment or access to essential service parts. If drilling, electrical integration or intake modification is outside your skill level, use a competent installer. Saving an hour on fitting is not a win if it creates a reliability problem that costs days off the road.
Hydrogen Fuel Systems provides application-focused documentation because the right result comes from the right fitment, not guesswork. Treat the checklist as a final quality-control process, then keep checking the system as part of normal vehicle maintenance. A properly installed unit should look purposeful under the bonnet: secure, protected and ready to earn its place through real operating results.
Monday, October 26, 2026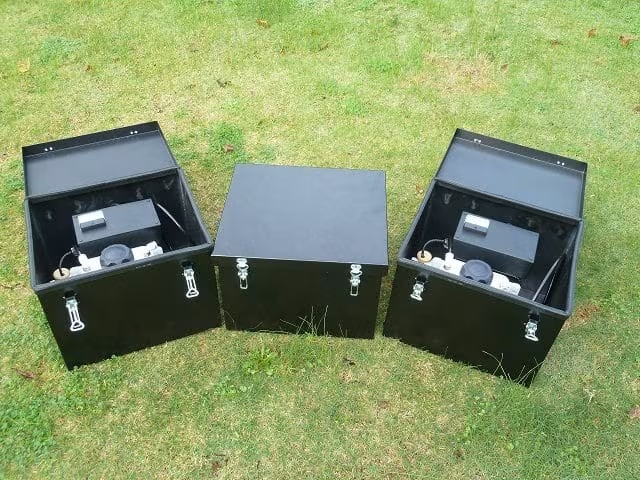
Brilliant Invention Gen 20 Hydrogen Generator ---(update Feb 7... Full Story
An HHO system that draws too little current can... Full Story
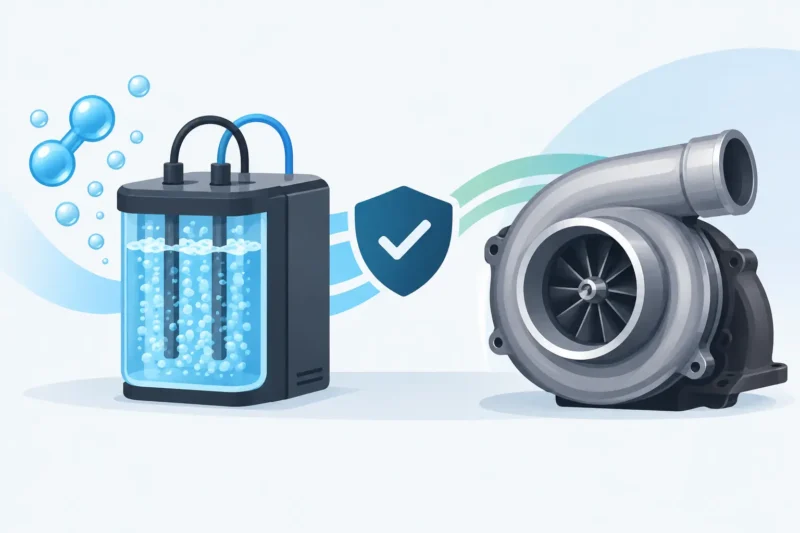
Will HHO Affect Turbochargers? Facts That Matter - Nov... Full Story
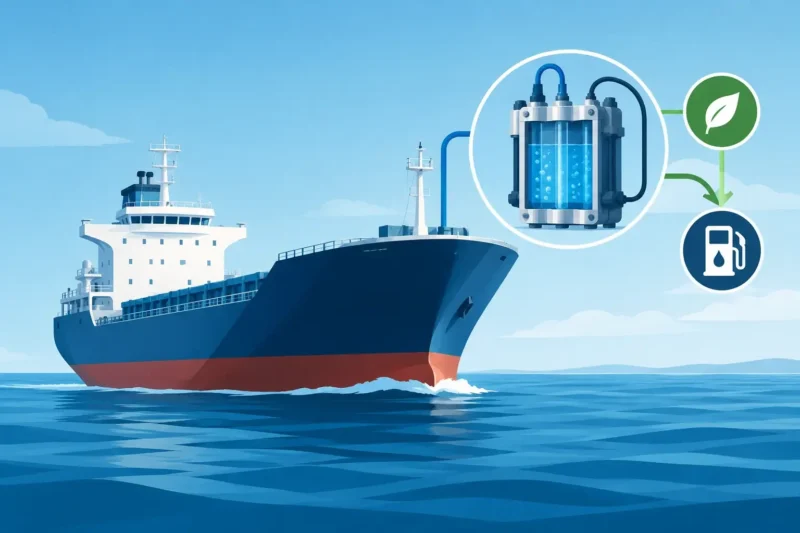
Marine Vessel HHO Fuel Trial for Real Fuel Savings... Full Story
Payment Methods Partner:

© 2026 Hydrogen Fuel Systems Pty Ltd